Curare from Schweighofer
Name: Curare
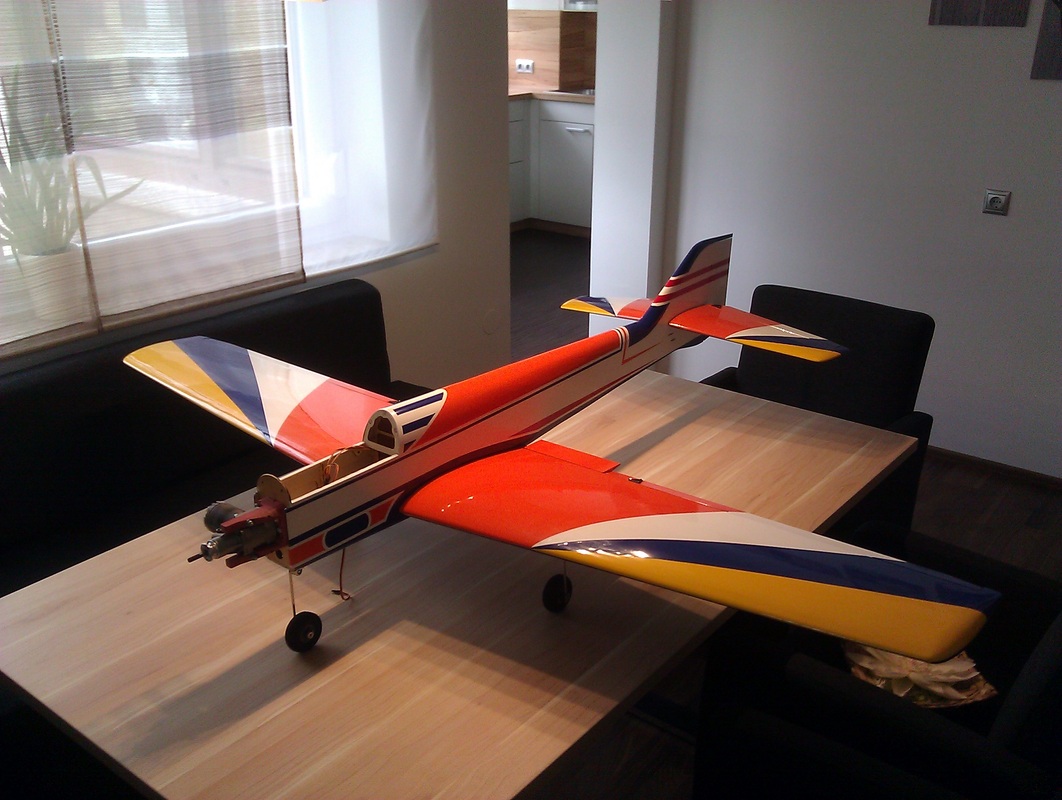
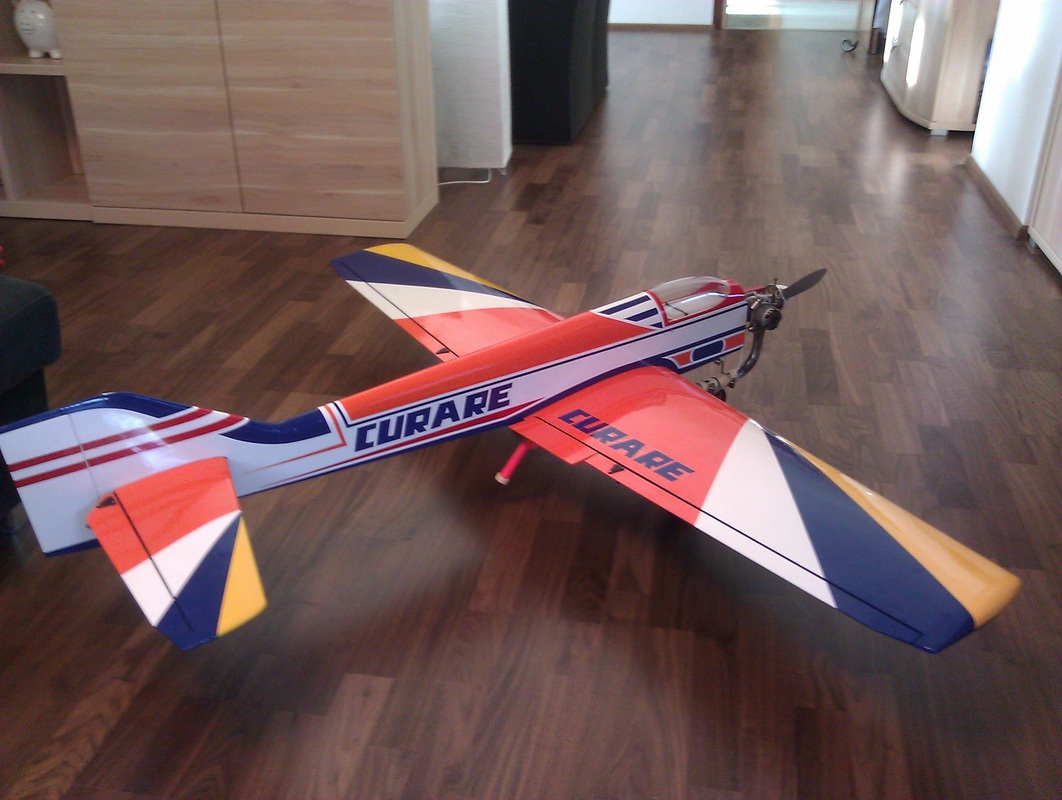
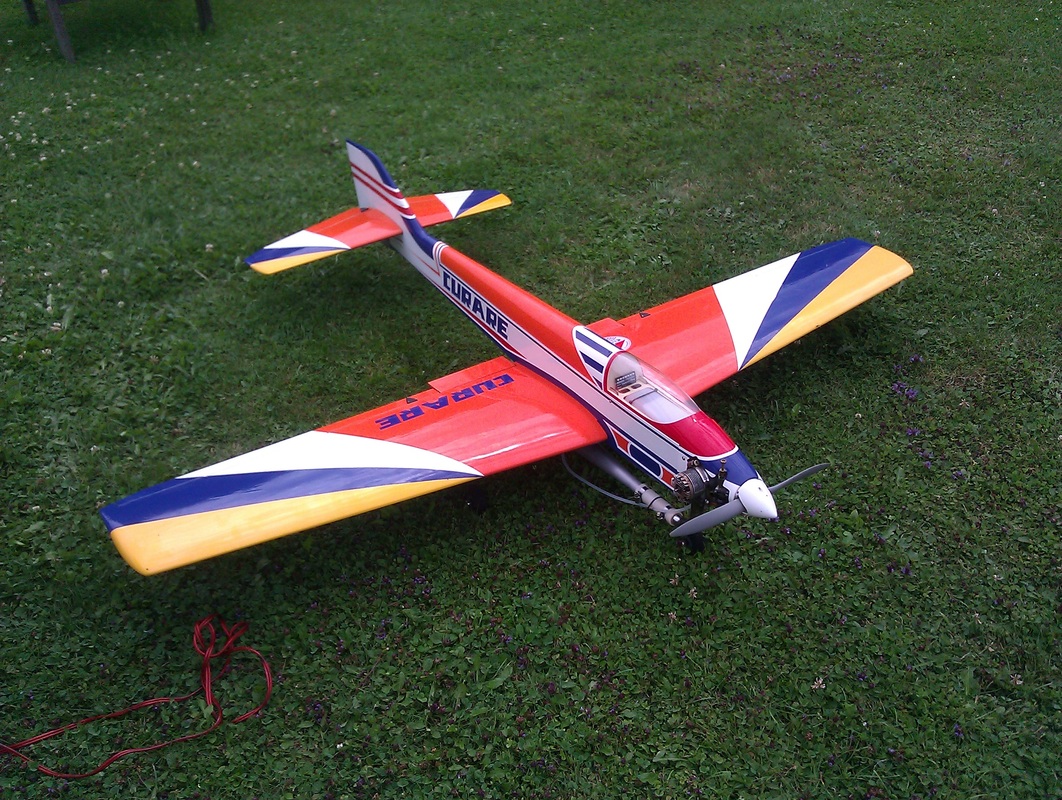
Sold by: Schweighofer Manufacturer: Dailyplane Category: RC1 Modelle Material: Holz Wingspan: 1640mm Length: 1400mm Weight: 3200gr. + gas Price: ~700€ Ready to fly Link to the shop: Curare in blue / yellow / orange As you can see under the crash pictures, my beloved Bolero isn't anymore, so I needed a new RC1 model.
Quite fast it was clear that it can be only a Curare. There is just nothing that flys as good as this perfect construction from Hanno Prettner. Lucky me Modellsport Schweighofer decided to bring up an ARF kit like it was made for a lazy building guy like me. So the expectations are high, because with 280€ for the model and 140€ for the retracts it is not one of the cheapest models, but everything else wouldn't be a Curare, the epitome of precise RC1... Fortunately i found a matching used engine in the internet which is also worth to be used in the Curare: a Webra Speed 61 with Dynamix carburetor, original manifold and original tuned pipe. not even one second I would think about building this plane with an electric engine. The efficiency, cleanliness and power in all honor, but a RC1 model needs to sound and smell accordingly. Beside of that, I'm a Webra and Dynamix fan, so what could go wrong? |
|
Shipping:
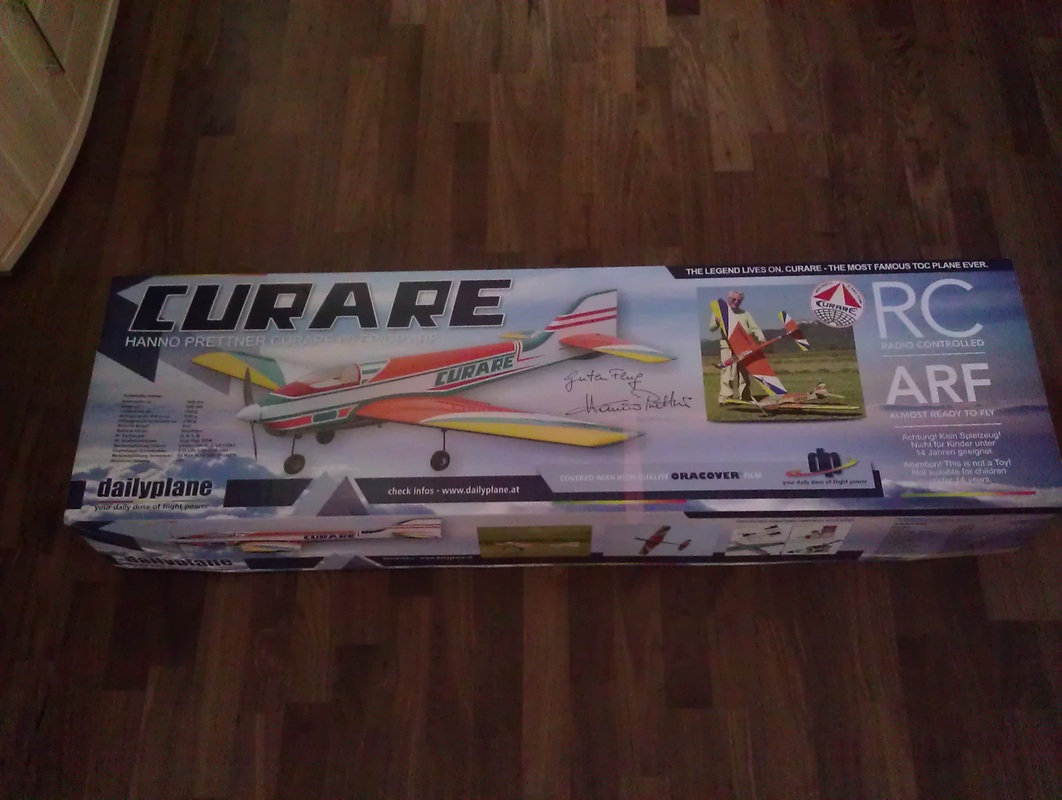
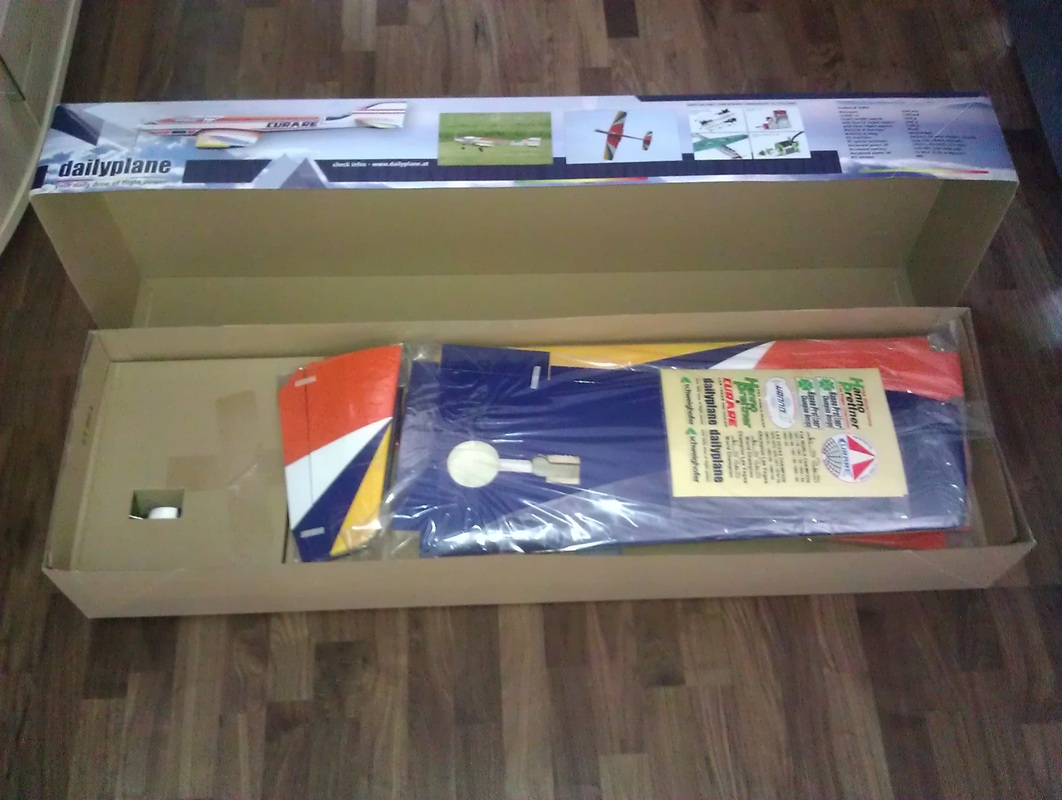
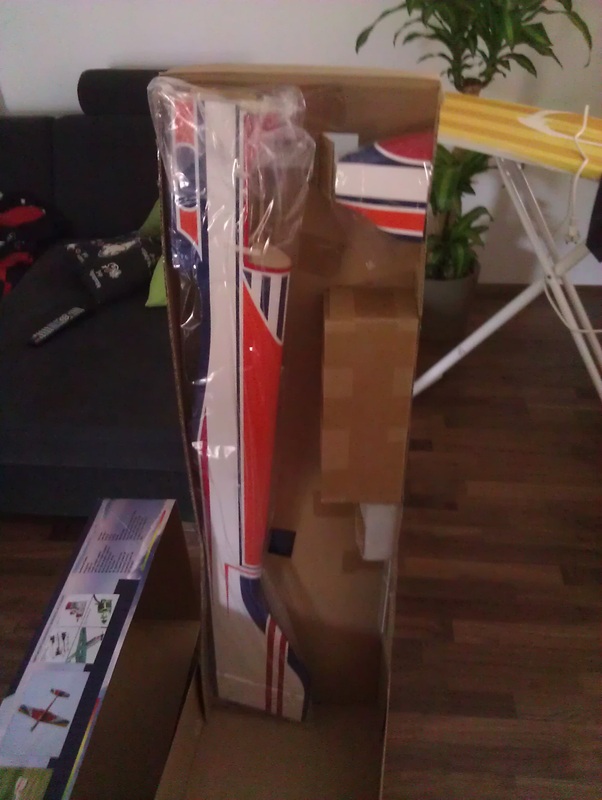
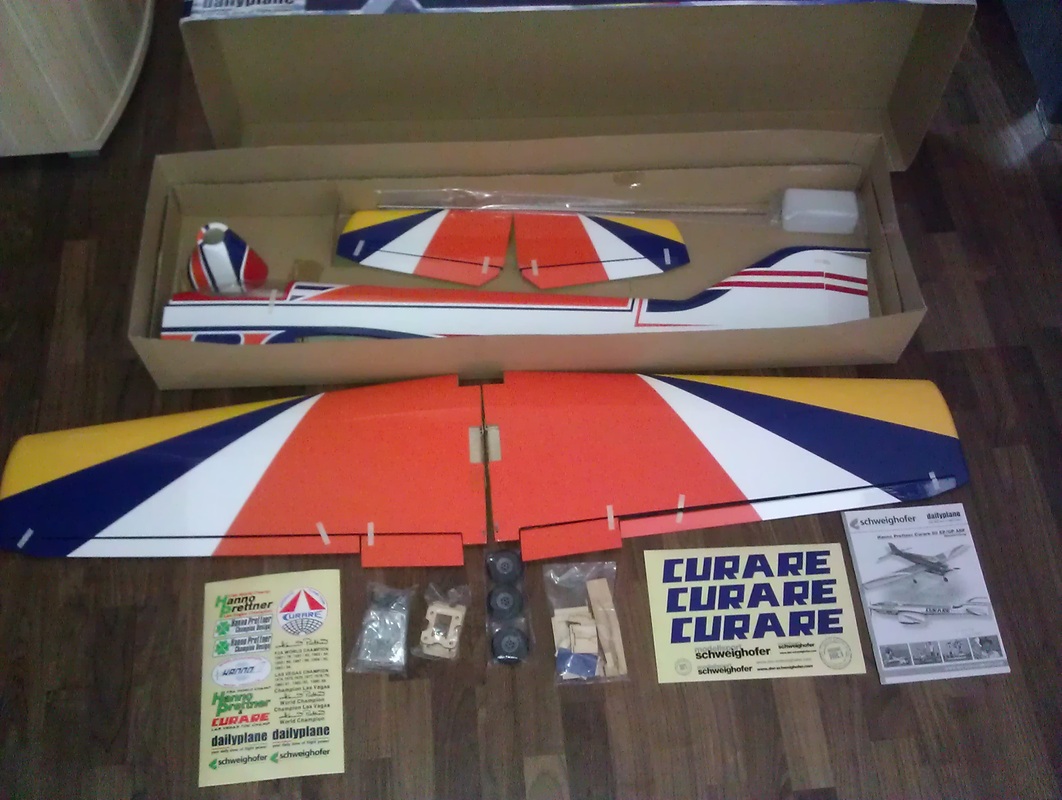
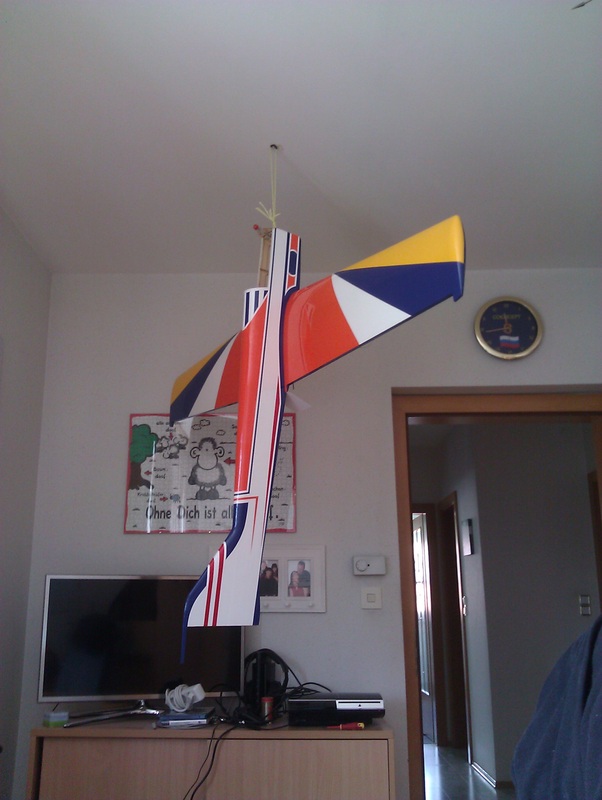
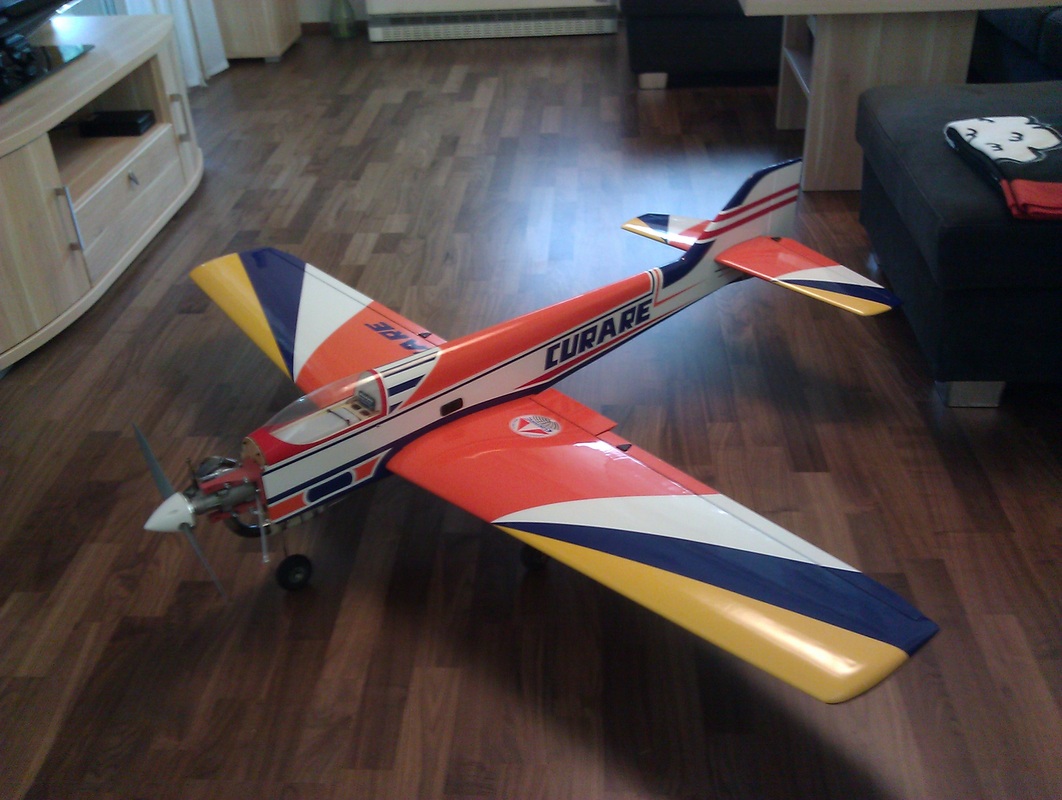
The Curare is hipped in a stable box which is packed once again. I can't imagine that something could be damaged while shipping. You can choose from two different color options: blue / yellow / orange and green / yellow / orange. I did choose the first.
My setup:
As fast as the decision for the engine was made, the longer it took me for the other components. Especially with the servos I was very unsure, despite the good experience with HK servos I havent had a good feeling with them for this model. Too big seemed to me the danger of a malfunction because of the vibrations. But I also did not wanted to spent 50€ or 80€ per servo, after all I would need six of them. After all I choosed the Graupner C5077. Good and solid JR servos with analog technology and play free plastic gears. A RC1 model won't need that big rudder elevations as a 3D model so these servos seems to be good enough. Also my Bolero flew with them very precise and reliable.
Only for the rudder are big elevations needed (6cm per side) and also the nose gear needs power and costs precission, because of that reasons I choosed here a Graupner DES 708BB.
The retracts have been choosen quite fast. After there have been some problems with the first version from RC Lander, Schweighofer reworked and offers now new Jetcraft retracts and about them, you only read good things.
Engine: Webra Speed 61 with Dynamix carburetor, manifold and tuned pipe
Prop: APC 12x6
Spinner: Profi Spinner 57mm White
Servos: Graupner C5077 (throttle, 2x ailerons, elevator, snapflap), Graupnes DES 708 BB MG (rudder)
Retracts: Jetcraft 3 Bein 90° 40-90
Battery: 4S 2400 NiMh with charge indicator in the cockpit
Receiver: OrangeRx R910 & 2x OrangeRx R100 satellite
Build up:
One thing first: You can download the instructions directly on the homepage of Modellsport Schweighofer, so take a look at them. Seldom I have seen such good instructions without any text. Everything important is explained and pictured. Thumbs up!
You should start with leave the kit laying around some days opened. So the wood can acclimatize and you can see where folds come up. During iron down of the folds, I recognized that the original foil seems not to be ironed very good. I would recommend you to iron the whole model.
So lets start with connection the two wing pieces. They fit very good and also the connector does. This step should be done with very much care, every mistake or inaccuracy here will bring you bad flying characteristics. After that you need to glue on the reinforcement for screwing the wing to the fuselage. Here you need two screw clamps because the wings are angeled and the reinforcement isn't.
After that i started with my favourite work: glueing in of the fleece hinges. This anyway thankless work will be more difficult due the really bad quality of the fleece hinges. The punching in the middle is very hard to remove and the plastic core raises very easy from the fleece. Allover there are no spare hinges, so you need to be carefull. here i would advise the manufacturer to improve the quality and add at least one spare.
By the way, this is the perfect way to glue them in:
Stuck in the hinge until its half in the wing and cut some wood away around the punched out area in the middle and let there very thin ca flowing in until it is filled up. When this is now cured, put on the rudder and cut again some wood away around the punched area. Now take a syringe and inject the ca right again in the hole until it is filled up. If you work fast enough and clean the syringe instantley with water you can reuse it two or three times.
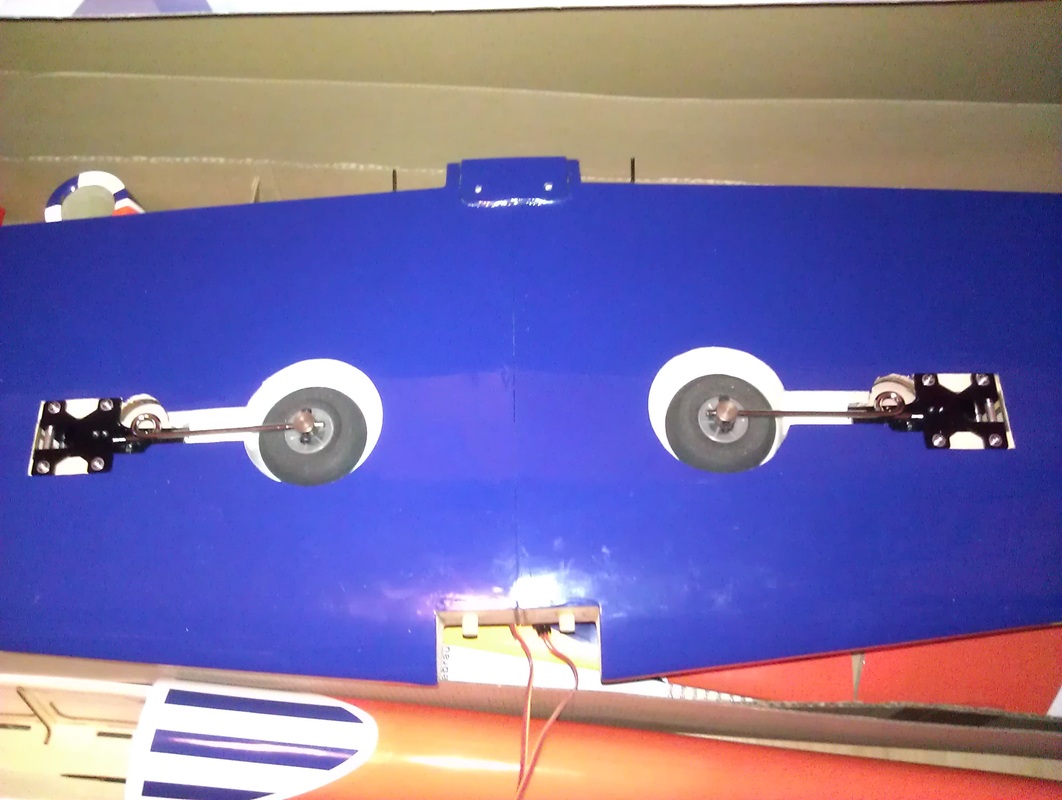
Now we proceed with the work on the retracts and wing servos. The recommended jetcraft retracts look really good and fit perfect in the cutaway in the wing. Beside that I had to add washers between the wheel and the strut to prevent the wheel from touching the strut. Also I applied some epoxy on all the cuttings of the foil to prevent it from getting loose over the time. This is generally a good tip when using a nitro engine.
The nose retracts did not fit that perfectly, because the cutaway in the fuselage is a bit too short. I just cut it a little bit bigger and also used some epoxy on the cuttings.
The servos can be mounted without any difficulties. here I need to say that it is very positive that the instructions already tell you the distances for all the linkages.
The glueing of the elevator looks at first sight wuite easy, but everyone who has ever build a RC1 model knows that this is maybe the most important part to get a plane with really good flying characteristics.
At first you should put the model with deployed retracts on a big enough table. meassure now the distance between the table and the wingtips and put paper under the wheels until the distance is exactley the same on the left and right side. Now take a look on the fuselage and the rudder. It should be in a perfect 90° angle and not twisted in any way. If it is, you can put some sticky tape on the wing where it meets the fuselage to reduce it. For the glueing of the elevator, both ends must be at the same distance from the table, so I would advise you to use some sticky band to fix them during cureing. However, you should use 24h epoxy and not the 5m one.
You should start with leave the kit laying around some days opened. So the wood can acclimatize and you can see where folds come up. During iron down of the folds, I recognized that the original foil seems not to be ironed very good. I would recommend you to iron the whole model.
So lets start with connection the two wing pieces. They fit very good and also the connector does. This step should be done with very much care, every mistake or inaccuracy here will bring you bad flying characteristics. After that you need to glue on the reinforcement for screwing the wing to the fuselage. Here you need two screw clamps because the wings are angeled and the reinforcement isn't.
After that i started with my favourite work: glueing in of the fleece hinges. This anyway thankless work will be more difficult due the really bad quality of the fleece hinges. The punching in the middle is very hard to remove and the plastic core raises very easy from the fleece. Allover there are no spare hinges, so you need to be carefull. here i would advise the manufacturer to improve the quality and add at least one spare.
By the way, this is the perfect way to glue them in:
Stuck in the hinge until its half in the wing and cut some wood away around the punched out area in the middle and let there very thin ca flowing in until it is filled up. When this is now cured, put on the rudder and cut again some wood away around the punched area. Now take a syringe and inject the ca right again in the hole until it is filled up. If you work fast enough and clean the syringe instantley with water you can reuse it two or three times.
Now we proceed with the work on the retracts and wing servos. The recommended jetcraft retracts look really good and fit perfect in the cutaway in the wing. Beside that I had to add washers between the wheel and the strut to prevent the wheel from touching the strut. Also I applied some epoxy on all the cuttings of the foil to prevent it from getting loose over the time. This is generally a good tip when using a nitro engine.
The nose retracts did not fit that perfectly, because the cutaway in the fuselage is a bit too short. I just cut it a little bit bigger and also used some epoxy on the cuttings.
The servos can be mounted without any difficulties. here I need to say that it is very positive that the instructions already tell you the distances for all the linkages.
The glueing of the elevator looks at first sight wuite easy, but everyone who has ever build a RC1 model knows that this is maybe the most important part to get a plane with really good flying characteristics.
At first you should put the model with deployed retracts on a big enough table. meassure now the distance between the table and the wingtips and put paper under the wheels until the distance is exactley the same on the left and right side. Now take a look on the fuselage and the rudder. It should be in a perfect 90° angle and not twisted in any way. If it is, you can put some sticky tape on the wing where it meets the fuselage to reduce it. For the glueing of the elevator, both ends must be at the same distance from the table, so I would advise you to use some sticky band to fix them during cureing. However, you should use 24h epoxy and not the 5m one.
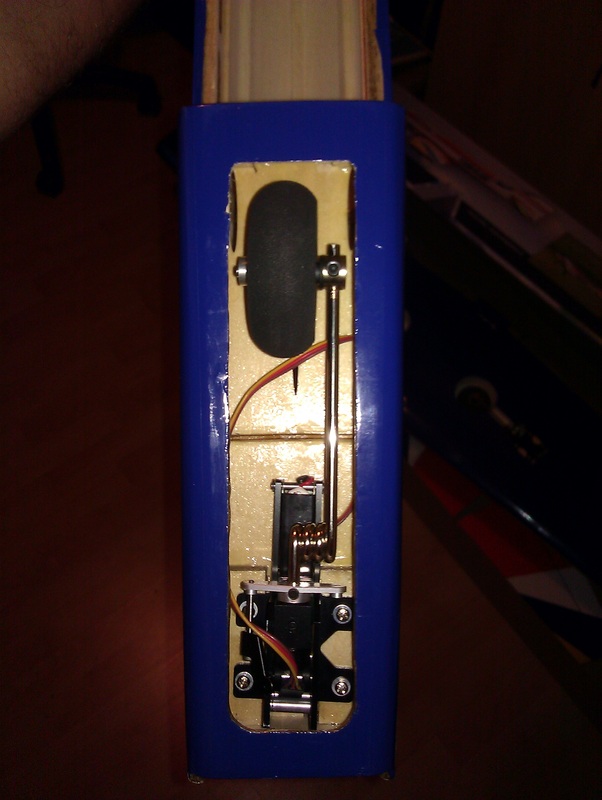
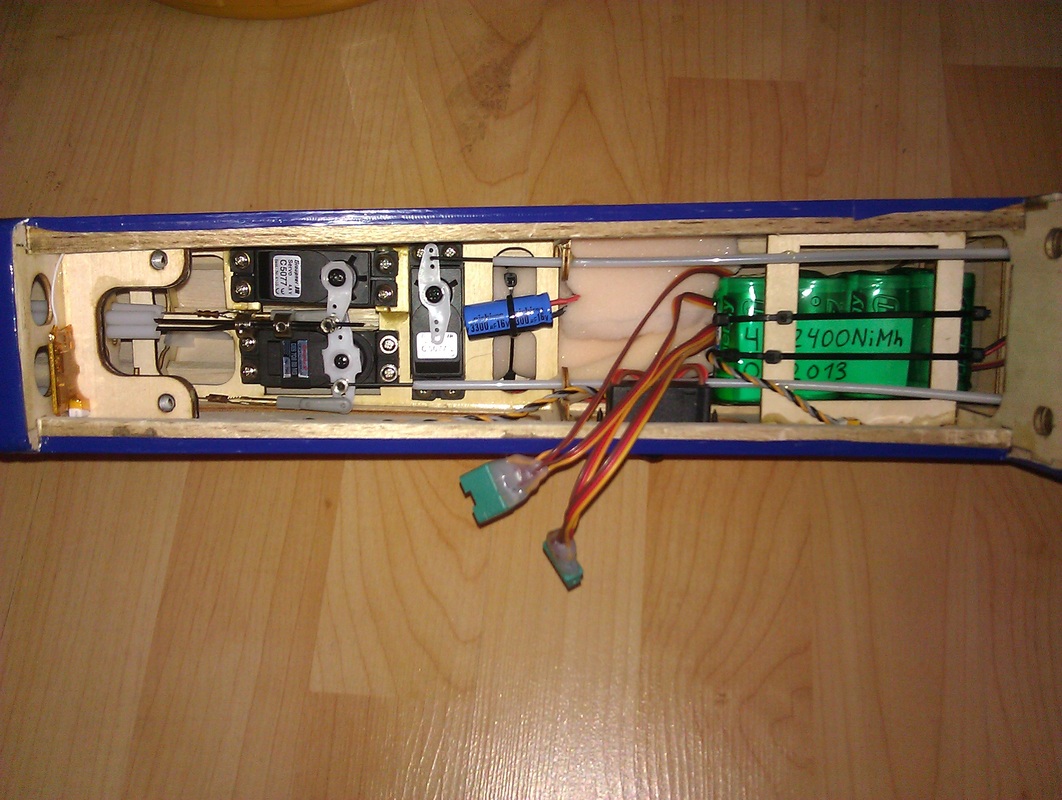
As next follows the installation of the servos and the electronic in the fuselage. There should be no surprises and also the isntructions are very detailed and good. I really like the play free linkage of the rudder.
For the connection of the electronic between the fuselage and the wing I recommend, according to the instructions, the use of two Multiplex plugs. You get a safe and reverse polary protected solution for retracts, snapflaps and both ailerons. here you should go for the genuine Multiplex plugs, compared to the cheaper ones the stuck really good AND can be opened very easy. A small Trick: you don't have to isolate all the wires on the plug on them selfs, just take some hot glue and fill up the whole solder side. You won't get only an isolation, you also get a good grip for pulling the plugs apart.
In the end, the installation of the heart needs to be done: the engine.
This was the first time I really got frustrated. Hanno flew the Curare at that time with a 10ccm engine. Also all replicas was equipped with that size, sometimes also with 15ccm. Schweighofer recommends a 8,5ccm engine which have the size of a 6,5ccm. Who wants can of course install that engine, there is nothing speaking against that, but I think that I'm not the only one who wants to fly it with a faithfully 10ccm engine. (Even if Schweighofer declines that because of the weight, Hanno has here the same opinion like me: sometimes heavy does fly better). So the problem is, that the implemented nuts are already built in and that they can only be removed very hard. Also if you want to use the 10ccm engine, you have the problem that you would need to move the nuts 2,5mm apart, so it is more ore less impossible to get a good drilling whole for them. Additional you get a problem with the retracts mounting plate when you move more down with the holes. I was only able to solve the problem with using another engine mount and drilling new holes on other places. You can get then even more angry if you realize too late that the distance in the instructions between the firewall and the spinner is wrong. So I would strongly recommend the manufacturerer to improve here several things. Also i need to say that Hanno recommends to increase the engine dive a little bit. You should use a betwen 1,6mm and 1,8mm shim on the upper side of the engine mount. This you can read with some other tips from him here. If you once placed the engine in the Curare, of course it fits then perfect, provided by the fact that you need a manifold to reaches long enough down the fuseluge to have the elbow on the right height to go with the tuned pipe the scheduled way that leads perfectly between the retracts. Also I need to say that you need to reinforce the wing from the inside with some plywood on the position where you are drilling the mounting for the tuned pipe.
Quite a good patience test is finaly the adaption of the engine cover. Unfortunately there are no templates so you have a long way of "try & error" in front of you, but the result is worth it.
The installation of the fuel tank is then only a small thing, but here i would recommend to put it back as much as possible, because then the change of the CG during the flight is less.
The battery and the rest of the electronic needs to be installed according to the instructions an then the programming can start, what should not bee a big challenge with that model. At the homepage from Schweighofer you can download a scale with that you can meassure the ruder movements easier, also in the instructions are Hannos recommendations which i also followed.
For me more unusual, I have the butterfly landing configuration not on a slider, this time i used the three way switch on my throttle stick. If i put the switch in front, I added the snap flap function and if i put it back, the butterfly position is used. So I easily can brake in the flight, but I can#t adjust the butterfly for landing. I think the adjustment is not needed if set up one time and I also have the engine to controle the approach. I haven't prgrammed any mixer so far because on that I don't trust the instructions and always want to find them out on my own.
The zero positon of the elevator and ailerons can easily be seen, but the snapflaps should be in zero position in the middle to the ailerons. This is not shown very good in the instructions and also other positions would look quite ok.
The whole building time takes around 20 to 25 hours. In view of the high finishing grade this sounds quite much, but if you want to build that plane exact and good, you should take that time and don't hesitate.
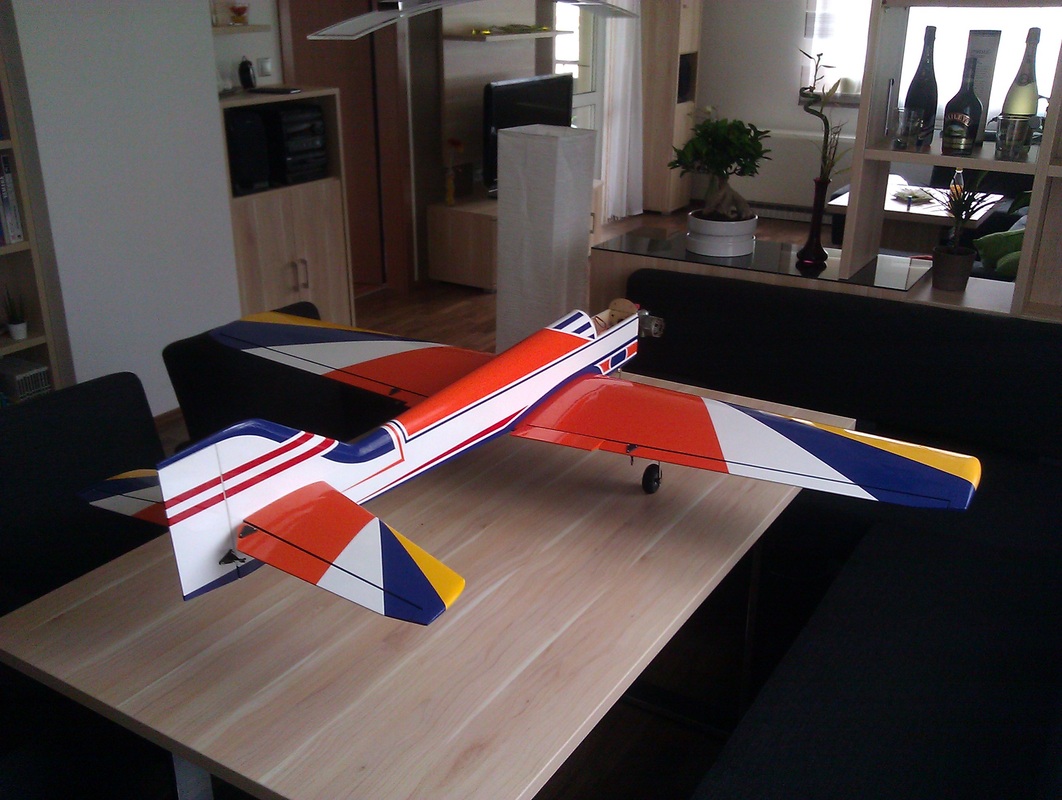
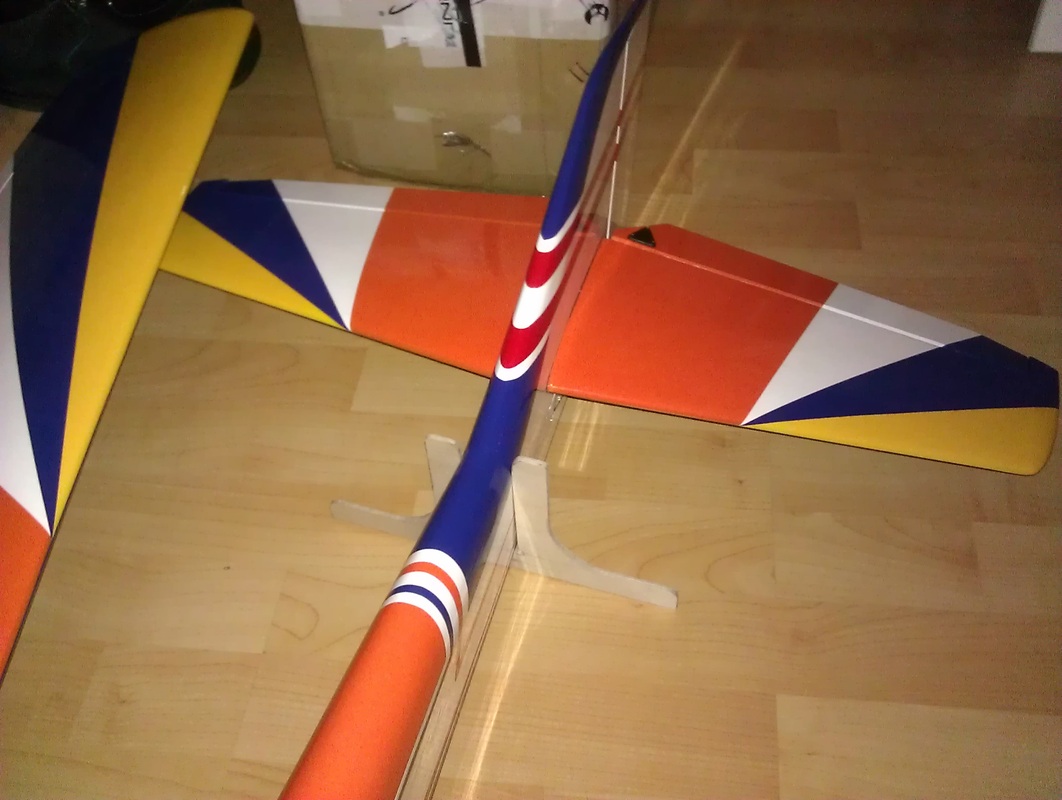
A small tip for all using the Curare with a nitro engine: if the manifold respectivley the tuned pipe is mounted, the fuselage won't stand straigt without gears and wings, it wants to tilt to the left side. because of that, the left elevator could be damaged. So I tool some plywood and made a small support for the fuselage that prevents the tilting. You can see it on the third picture. This is also very useful for the transport.
For the connection of the electronic between the fuselage and the wing I recommend, according to the instructions, the use of two Multiplex plugs. You get a safe and reverse polary protected solution for retracts, snapflaps and both ailerons. here you should go for the genuine Multiplex plugs, compared to the cheaper ones the stuck really good AND can be opened very easy. A small Trick: you don't have to isolate all the wires on the plug on them selfs, just take some hot glue and fill up the whole solder side. You won't get only an isolation, you also get a good grip for pulling the plugs apart.
In the end, the installation of the heart needs to be done: the engine.
This was the first time I really got frustrated. Hanno flew the Curare at that time with a 10ccm engine. Also all replicas was equipped with that size, sometimes also with 15ccm. Schweighofer recommends a 8,5ccm engine which have the size of a 6,5ccm. Who wants can of course install that engine, there is nothing speaking against that, but I think that I'm not the only one who wants to fly it with a faithfully 10ccm engine. (Even if Schweighofer declines that because of the weight, Hanno has here the same opinion like me: sometimes heavy does fly better). So the problem is, that the implemented nuts are already built in and that they can only be removed very hard. Also if you want to use the 10ccm engine, you have the problem that you would need to move the nuts 2,5mm apart, so it is more ore less impossible to get a good drilling whole for them. Additional you get a problem with the retracts mounting plate when you move more down with the holes. I was only able to solve the problem with using another engine mount and drilling new holes on other places. You can get then even more angry if you realize too late that the distance in the instructions between the firewall and the spinner is wrong. So I would strongly recommend the manufacturerer to improve here several things. Also i need to say that Hanno recommends to increase the engine dive a little bit. You should use a betwen 1,6mm and 1,8mm shim on the upper side of the engine mount. This you can read with some other tips from him here. If you once placed the engine in the Curare, of course it fits then perfect, provided by the fact that you need a manifold to reaches long enough down the fuseluge to have the elbow on the right height to go with the tuned pipe the scheduled way that leads perfectly between the retracts. Also I need to say that you need to reinforce the wing from the inside with some plywood on the position where you are drilling the mounting for the tuned pipe.
Quite a good patience test is finaly the adaption of the engine cover. Unfortunately there are no templates so you have a long way of "try & error" in front of you, but the result is worth it.
The installation of the fuel tank is then only a small thing, but here i would recommend to put it back as much as possible, because then the change of the CG during the flight is less.
The battery and the rest of the electronic needs to be installed according to the instructions an then the programming can start, what should not bee a big challenge with that model. At the homepage from Schweighofer you can download a scale with that you can meassure the ruder movements easier, also in the instructions are Hannos recommendations which i also followed.
For me more unusual, I have the butterfly landing configuration not on a slider, this time i used the three way switch on my throttle stick. If i put the switch in front, I added the snap flap function and if i put it back, the butterfly position is used. So I easily can brake in the flight, but I can#t adjust the butterfly for landing. I think the adjustment is not needed if set up one time and I also have the engine to controle the approach. I haven't prgrammed any mixer so far because on that I don't trust the instructions and always want to find them out on my own.
The zero positon of the elevator and ailerons can easily be seen, but the snapflaps should be in zero position in the middle to the ailerons. This is not shown very good in the instructions and also other positions would look quite ok.
The whole building time takes around 20 to 25 hours. In view of the high finishing grade this sounds quite much, but if you want to build that plane exact and good, you should take that time and don't hesitate.
A small tip for all using the Curare with a nitro engine: if the manifold respectivley the tuned pipe is mounted, the fuselage won't stand straigt without gears and wings, it wants to tilt to the left side. because of that, the left elevator could be damaged. So I tool some plywood and made a small support for the fuselage that prevents the tilting. You can see it on the third picture. This is also very useful for the transport.
Flying characteristics:
I set up the CG according to the instructions, that means 110mm with complete empty fuel tank. After I set up everything else at home I went to our flying field and the used Webra needed to show if he even wants to work...
Lucky me, the engine started immediately and was also easy to tune. So I spent a half tank on the ground for setup, "break in" and as considence-calming. After that I checked all connections if something came loose from the vibrations.
Then there was the maiden:
The retracts look very stable and you forget very fast the concern if they are maybe too weak. The turning is nevertheless the small action of the nose wheel more then enough. it would be even enough to not use the nose wheel and steer only with the rudder. If you need to turn around on smallest area, you can pull the elevator and rudder, give for a short time full throttle and the Curare will wheel on the point in that direction. The Curare uses three point gears, so there is no need to pull on the elevator during the acceleration, you only have to correct a little bit with the rudder. Like nearly all models, the Curare tends to run on the left a little bit, but compared two two point gears, this is nearly nothing.
The acceleration is really impressive. You cannot go full throttle, you have to open the throttle slowly to be able to hold it with the rudder fast enough. Also she don't want to take off on her own, you need to pull on the elevator a little bit once you are fast enough. But that's a piece of cake and the take off is overall very simple. You only should not pull too early, because then she takes the nose up in the air, but maybe gets into a stall.
Once in the air you know immediately what plane you are flying. It doesn't matter in what position, as soon as you take off your hands from the sticks, it will keep flying straight into that direction. The 10ccm Webra does not have the smallest problem with the Curare and because of the retracts and the small drag it is possible to achieve a speed of guessed 160-170km/h within seconds. Not really a beginner plane.
Of course she is built for the classic RC1 programm, and there she is in her element. All figures will be done perfectly and there are no tendencies to break out or anything else. The function of the rudder is perfect, but the rudder travel is not really small with 6cm, that's why you should really use a good servo for that. Also in a rolling-circle with one or more rolls, she does not have any tendencies to break out or to push over one axis. I never flew a plane that was that precise in a rolling circle. Impressive! Even in knife-edge there is nearly nothing to correct, but against one review I read, it is not possible to do a knife edge loop with her. Maybe my CG is still too much forward for that, but I don't think so. But ok, the Curare is not a 3D model, so I can live with that.
For all other flight characteristics: Thats exactley how a RC1 model needs to fly! that's the definition!
Also the slow speed characteristics are impressive. If you are getting slower and slower, you can keep her stable with only pulling the elevator, but if you use the rudder, she starts immediately to spin. As perfect as you wish, stable in slow flight, but stalls as soon as you want. When using the butterfly position she gets even a little bit slower, but you should use that only for landing.
The landing itself is very uncritical and also the landing speed is a little bit slower then with another typical RC1 model. With the butterfly position she is maybe easier to land then a trainer, the speed will be reduced significant and gets from self in an angle of about 10° to 15° which is perfect for landing. if you are used to it, you can really get her down very, very smooth.
The tank with about 400ccm last for around 8 to 12 minutes if you are flying quite normal, but be carefull, a Webra with Dynamix and tuned pipe will need a lot of meat if you start to unleash it with a lot of full throttle.
The CG with 110mm and empty tank is quite ok for the maiden if you are a good pilot, but still I got back a little bit more after the first flights, but I'm still trying to find the best compromise. It's the only bad thing about the Curare, Hanno should have put the tank more back so that it won't affect the CG so much during flight, but however, it was not as bad as I thought in the beginning.
Conclusion:
Target group: From the aerobatics beginner to the RC1 professional
Finishing: Sometimes a little bit frustrating and you recognize that the kit is from China, but the target group will be mainly the old prefissionals, so there should not come up any serious problems.
Flight characteristics: Perfect
Price / performance ratio: kit: sufficient / flight characteristics: very good
The Curare is a world champion model, otherwise Hanno wouldn't have won several championships with her. But she also has her price when she stands ready for take off on the runway. If your financial boss is allowing it, there are no rational reasons that would speak against it. Timeless, perfect, get it!
